
Custom shaders with depth sampling
Using Depth texture sampling in custom shaders
While making silo27 I had to make a custom shader for some glowing “electrical” water. I had to make some research on how to achieve it, with the depth fades and shoreline effect, how depth pass texture sampling works, so here is a rundown on how the final shader works.
Difficulty: Intermediate
This tutorial was made in Unity 2020.1 with the built-in render pipeline (will not work in URP or HDRP)
Contents
- Mesh and preparation
- Creating shader and material
- What is the depth texture
- How to sample the depth texture
- Using the sampled depth
- Making waves, using vertex displacement
Video of breakdown (see on Twitter)
Mesh and preparation
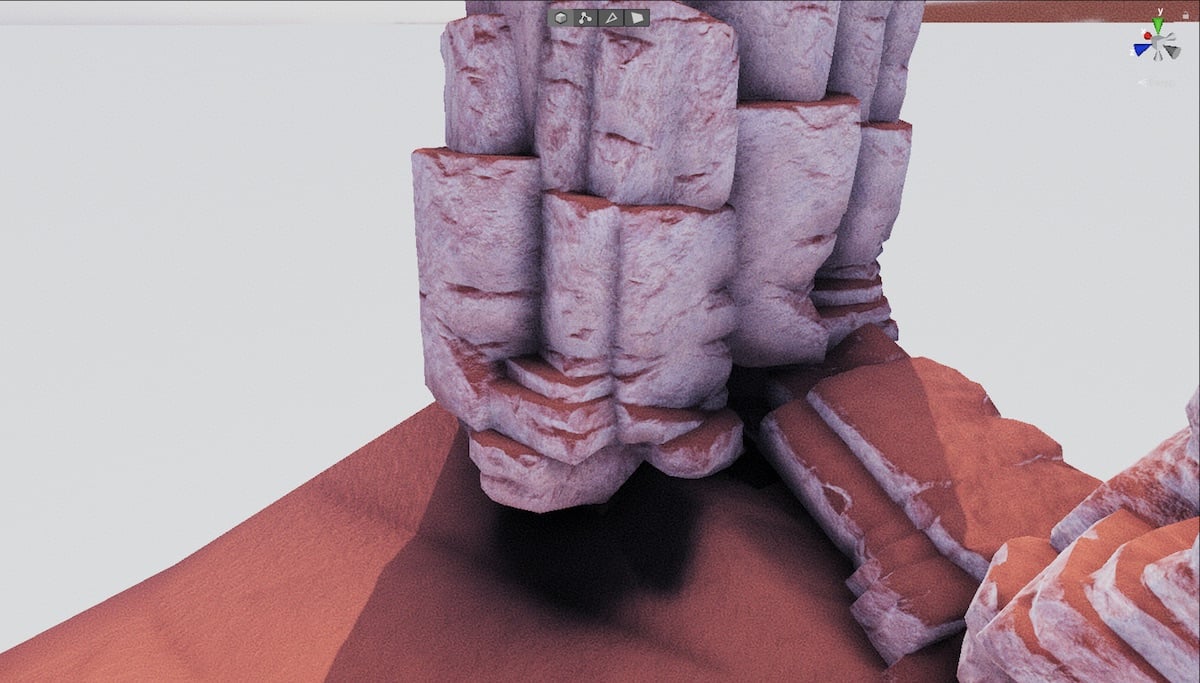
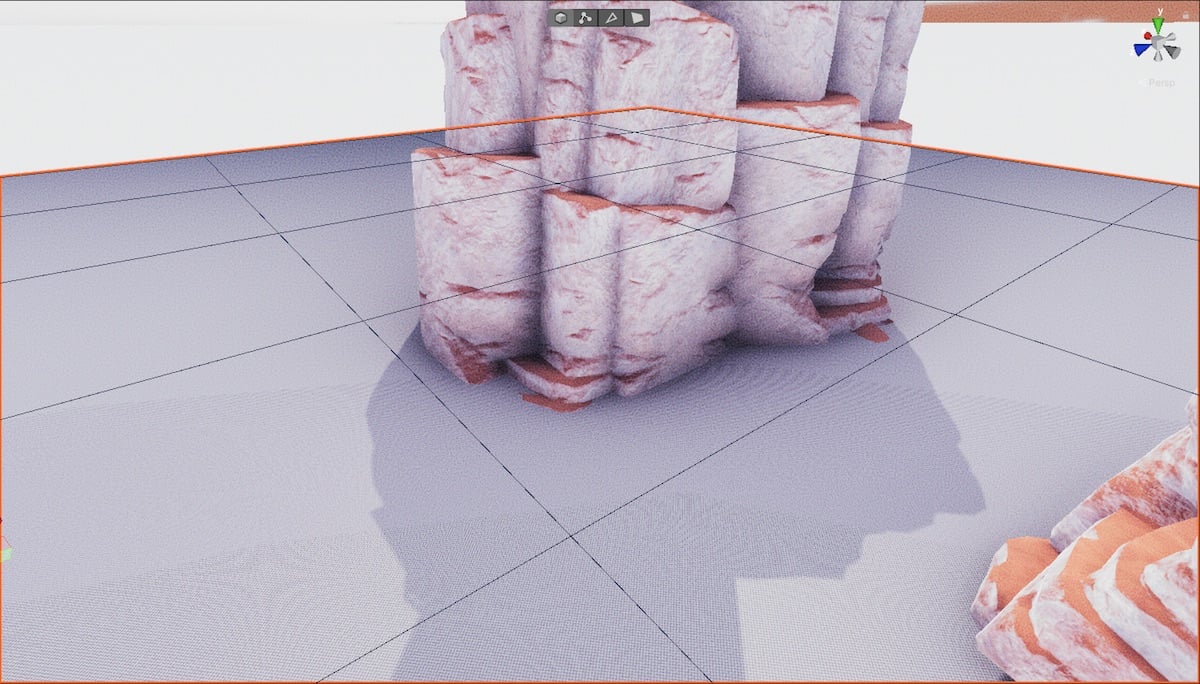
Prepare a mesh to apply the water material on. I will use this scene from my game for the examples. You can use the built-in plane mesh from Unity or make one in a 3d modeling software like Blender. I made mine with ProBuilder right inside of Unity. The mesh should be a flat plane with UVs and at least some subdivisions. More polygons means smoother waves, but we’ll cover this better later on.
Creating shader and material
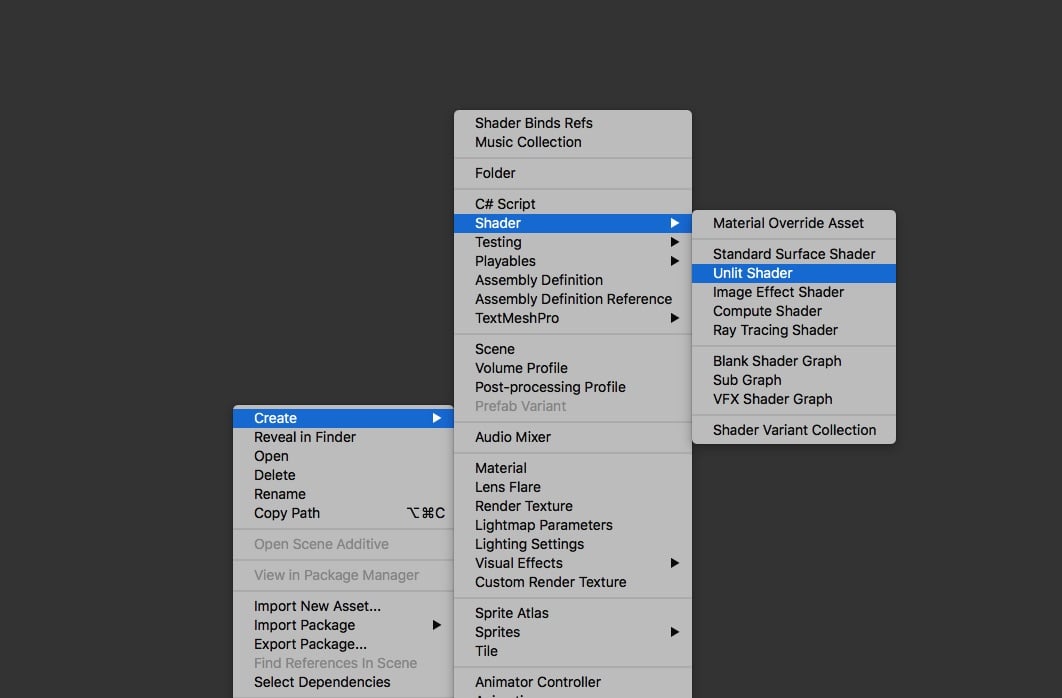
Now that you have your mesh ready it’s time to begin. Create a new material with a new Unlit Shader and assign the material to your mesh.
Below is the new shader, with some changes already made.
All comments and unneeded parts were removed. The texture was replaced with just a plain color (with the HDR tag to allow emissive colors). Tags and Blend were changed to make the shader transparent. Some #pragma parameters were added to disable some lighting features, since this shader does not use them.
Shader "Unlit/Tutorial"
{
    Properties
    {
        [HDR] _Color("Color", Color) = (1, 1, 1, 1)
    }
    SubShader
    {
        Tags { "RenderType"="Transparent" "IgnoreProjector"="True" "Queue" = "Transparent" }
        Blend SrcAlpha OneMinusSrcAlpha
        LOD 100

        Pass
        {
            Tags { "LightMode" = "ForwardBase" }

            CGPROGRAM
            #pragma vertex vert
            #pragma fragment frag
            #pragma multi_compile_fwdbase nolightmap nodirlightmap nodynlightmap novertexlight

            #include "UnityCG.cginc"

            struct appdata
            {
                float4 vertex : POSITION;
            };

            struct v2f
            {
                float4 vertex : SV_POSITION;
            };

            float4 _Color;

            v2f vert (appdata v)
            {
                v2f o;
                o.vertex = UnityObjectToClipPos(v.vertex);

                return o;
            }

            fixed4 frag (v2f i) : SV_Target
            {
                fixed4 col = _Color;
                return col;
            }
            ENDCG
        }
    }
}
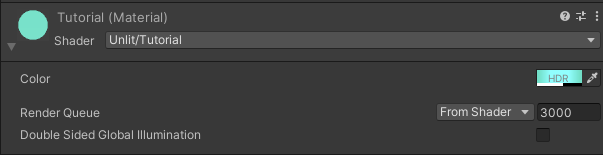
You can now set a color with alpha and intensity from the material inspector.
What is the depth texture
In 3D computer graphics and computer vision, a depth map is an image or image channel that contains information relating to the distance of the surfaces of scene objects from a viewpoint.
The depth texture is a special texture that gets rendered by Unity, at least on desktop. On mobile it’s often too expensive. It’s basically a greyscale image of your scene where the brightness of each pixel indicates how far it is from the camera.
It is used for effects like depth of field post-processing effects. It is also a component of certain implementations of shadow rendering of occlusion culling systems. Another use, which is what we’ll do in this tutorial is simulating the effect of dense semi-transparent surfaces, such as fog, smoke or large volumes of water.
How to sample the depth texture
We start by using a Unity macro to declare the depth texture sampler. This macro helps us be compatible with different platforms.
You can put this right after the float4 _Color; line (it is near the middle of the shader).
float4 _Color;
 UNITY_DECLARE_DEPTH_TEXTURE(_CameraDepthTexture);
Let’s add a variable inside the v2f struct, where we will later store the screen-space position.
struct v2f
{
  float4 vertex : SV_POSITION;
  float4 screenPos : TEXCOORD1;
}
You may notice that we used the
TEXCOORD1instead of0. This is because we’ll use the other one later in the tutorial.
Usually you would start using them in order, starting from 0.
We then compute the screen-space position and eye-depth inside the vert function, using some functions and macros provided by Unity. These will be then used later inside the frag function to calculate the actual depth value.
v2f vert (appdata v)
{
  v2f o;
  o.vertex = UnityObjectToClipPos(v.vertex);

  // compute depth
  o.screenPos = ComputeScreenPos(o.vertex);
  COMPUTE_EYEDEPTH(o.screenPos.z);

  return o;
}
And finally we can get the pixel depth in the frag function.
You can read more about using depth textures in Unity, and what the different functions and macros do, in Unity’s docs about Depth Textures.
We first use some functions and macros provided by Unity to, essentially, get the depth value of what is behind our mesh. Then we substract the depth value of our water mesh away from that. This leaves us with the distance between our water mesh surface and the surface of what is under it, we’ll store this value in the aptly named depth variable.
fixed4 frag (v2f i) : SV_Target
{
  fixed4 col = _Color;

  // compute depth
  float sceneZ = LinearEyeDepth (SAMPLE_DEPTH_TEXTURE_PROJ(_CameraDepthTexture, UNITY_PROJ_COORD(i.screenPos)));
  float depth = sceneZ - i.screenPos.z;

  return col;
}
Great! We have the depth value, now we can use it to make the effects we want.
Using the sampled depth
Continue by adding the following lines after the previous ones. This will make the base color fade with depth.
fixed4 frag (v2f i) : SV_Target
{
  fixed4 col = _Color;

  // compute depth
  float sceneZ = LinearEyeDepth (SAMPLE_DEPTH_TEXTURE_PROJ(_CameraDepthTexture, UNITY_PROJ_COORD(i.screenPos)));
  float depth = sceneZ - i.screenPos.z;

  // fade with depth
  fixed depthFading = saturate((abs(pow(depth, _DepthPow))) / _DepthFactor);
  col *= depthFading;

  return col;
}
_DepthFactor and _DepthPow are the configurable parameters. Add them in the Properties at the top of your shader
Properties
{
  [HDR] _Color("Color", Color) = (1, 1, 1, 1)
  _DepthFactor("Depth Factor", float) = 1.0
  _DepthPow("Depth Pow", float) = 1.0
}
and define them where we declared the depth texture before.
float4 _Color;
UNITY_DECLARE_DEPTH_TEXTURE(_CameraDepthTexture);
 float _DepthFactor;
 fixed _DepthPow;
Now you can play around with the values in the inspector.
At first they might appear to both do the same thing but Depth Factor controls the length of the fade and Depth Pow(Power) changes the smoothness of the fade.
The next step is basically the same thing but reversed. Let’s do the shoreline!
This is still in the frag function.
fixed4 frag (v2f i) : SV_Target
{
  // [other code ...]

  // "foam line"
  fixed intersect = saturate((abs(depth)) / _IntersectionThreshold);
  col += _EdgeColor * pow(1 - intersect, 4) * _IntersectionPow;

  return col;
}
Add the properties to control how the line will look.
Properties
{
  // [...]

  [HDR] _EdgeColor("Edge Color", Color) = (1, 1, 1, 1)
  _IntersectionThreshold("Intersection threshold", Float) = 1
  _IntersectionPow("Pow", Float) = 1
}
Then define the variables for those properties.
float4 _Color;
UNITY_DECLARE_DEPTH_TEXTURE(_CameraDepthTexture);
float _DepthFactor;
fixed _DepthPow;
 float4 _EdgeColor;
 fixed _IntersectionThreshold;
 fixed _IntersectionPow;

And we are done with the depth-related effects.
However our water is still missing a very important feature: waves!
Making waves, using vertex displacement
The technique we’ll use for this is called vertex displacement, this is why you needed the many polygons in your mesh. We will sample a texture with random noise in it, and the use the value we get to move the vertices of out mesh up and down to make them move like waves.
This time we’ll start with adding the Properties first.
Properties
{
  // [...]

  _NoiseTex("Noise Texture", 2D) = "white" {}
  _WaveSpeed("Wave Speed", float) = 1
  _WaveAmp("Wave Amp", float) = 0.2
  _ExtraHeight("Extra Height", float) = 0.0
}
Next we’ll define the variables for the properties we just added.
float4 _Color;
UNITY_DECLARE_DEPTH_TEXTURE(_CameraDepthTexture);

float _DepthFactor;
fixed _DepthPow;

float4 _EdgeColor;
fixed _IntersectionThreshold;
fixed _IntersectionPow;

 sampler2D _NoiseTex;
 float _WaveSpeed;
 float _WaveAmp;
 float _ExtraHeight;
Since we are using a texture we’ll need to add a variable to store the texture coordinates in both the appdata and v2f structs.
struct appdata
{
  float4 vertex : POSITION;
  float4 texCoord : TEXCOORD0;
};
struct v2f
{
  float4 vertex : SV_POSITION;
  float4 texCoord : TEXCOORD0;
  float4 screenPos : TEXCOORD1;
};
And now that everything is added we can move the vertices by adding the following lines in the vert function.
We first read the value from the noise texture _NoiseTex. Then we add that value to the vertex position on the y axis, to make it move up. But before adding the value gets multiplied by our different parameters that control the wave’s movement speed (_WaveSpeed) and height amplitude (_WaveAmp). We are also using _Time to make the waves move over time, otherwise we would add the waves displacemnt to our mesh but it would be frozen still.
v2f vert (appdata v)
{
  v2f o;
  o.vertex = UnityObjectToClipPos(v.vertex);

  // apply wave animation
  float noiseSample = tex2Dlod(_NoiseTex, float4(v.texCoord.xy, 0, 0));
  o.vertex.y += sin(_Time * _WaveSpeed * noiseSample) * _WaveAmp + _ExtraHeight;

  // compute depth
  // [...]

  return o;
}
Make sure you modify the vertex before you compute the depth, otherwise the depth will be wrong since it will be using a wrong position for it’s calculations.
The noise texture
To make the waves work you first have to select a noise texture from the material’s inspector.
You can find many free noise textures online that you can use. You can also obviously make your own if you can! If you want you can get the textures used in this tutorial from the files on patreon.
Download tutorial files here
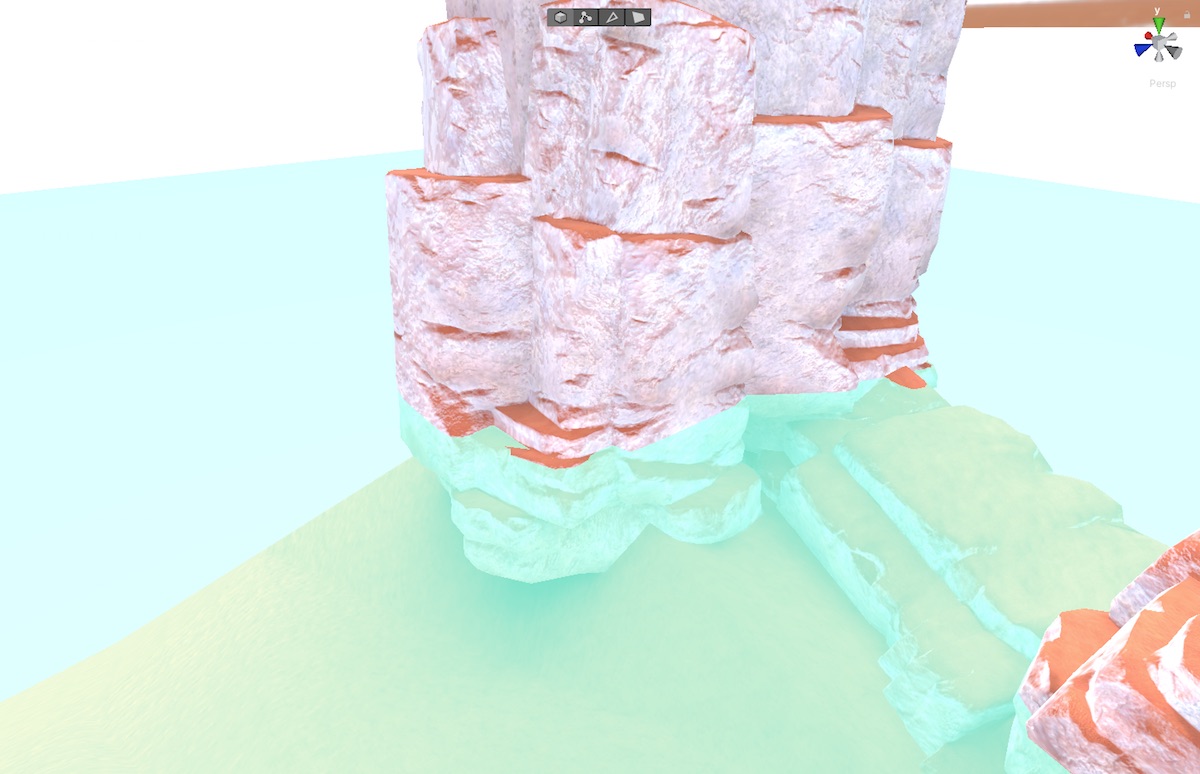
The water now with moving waves
DONE!
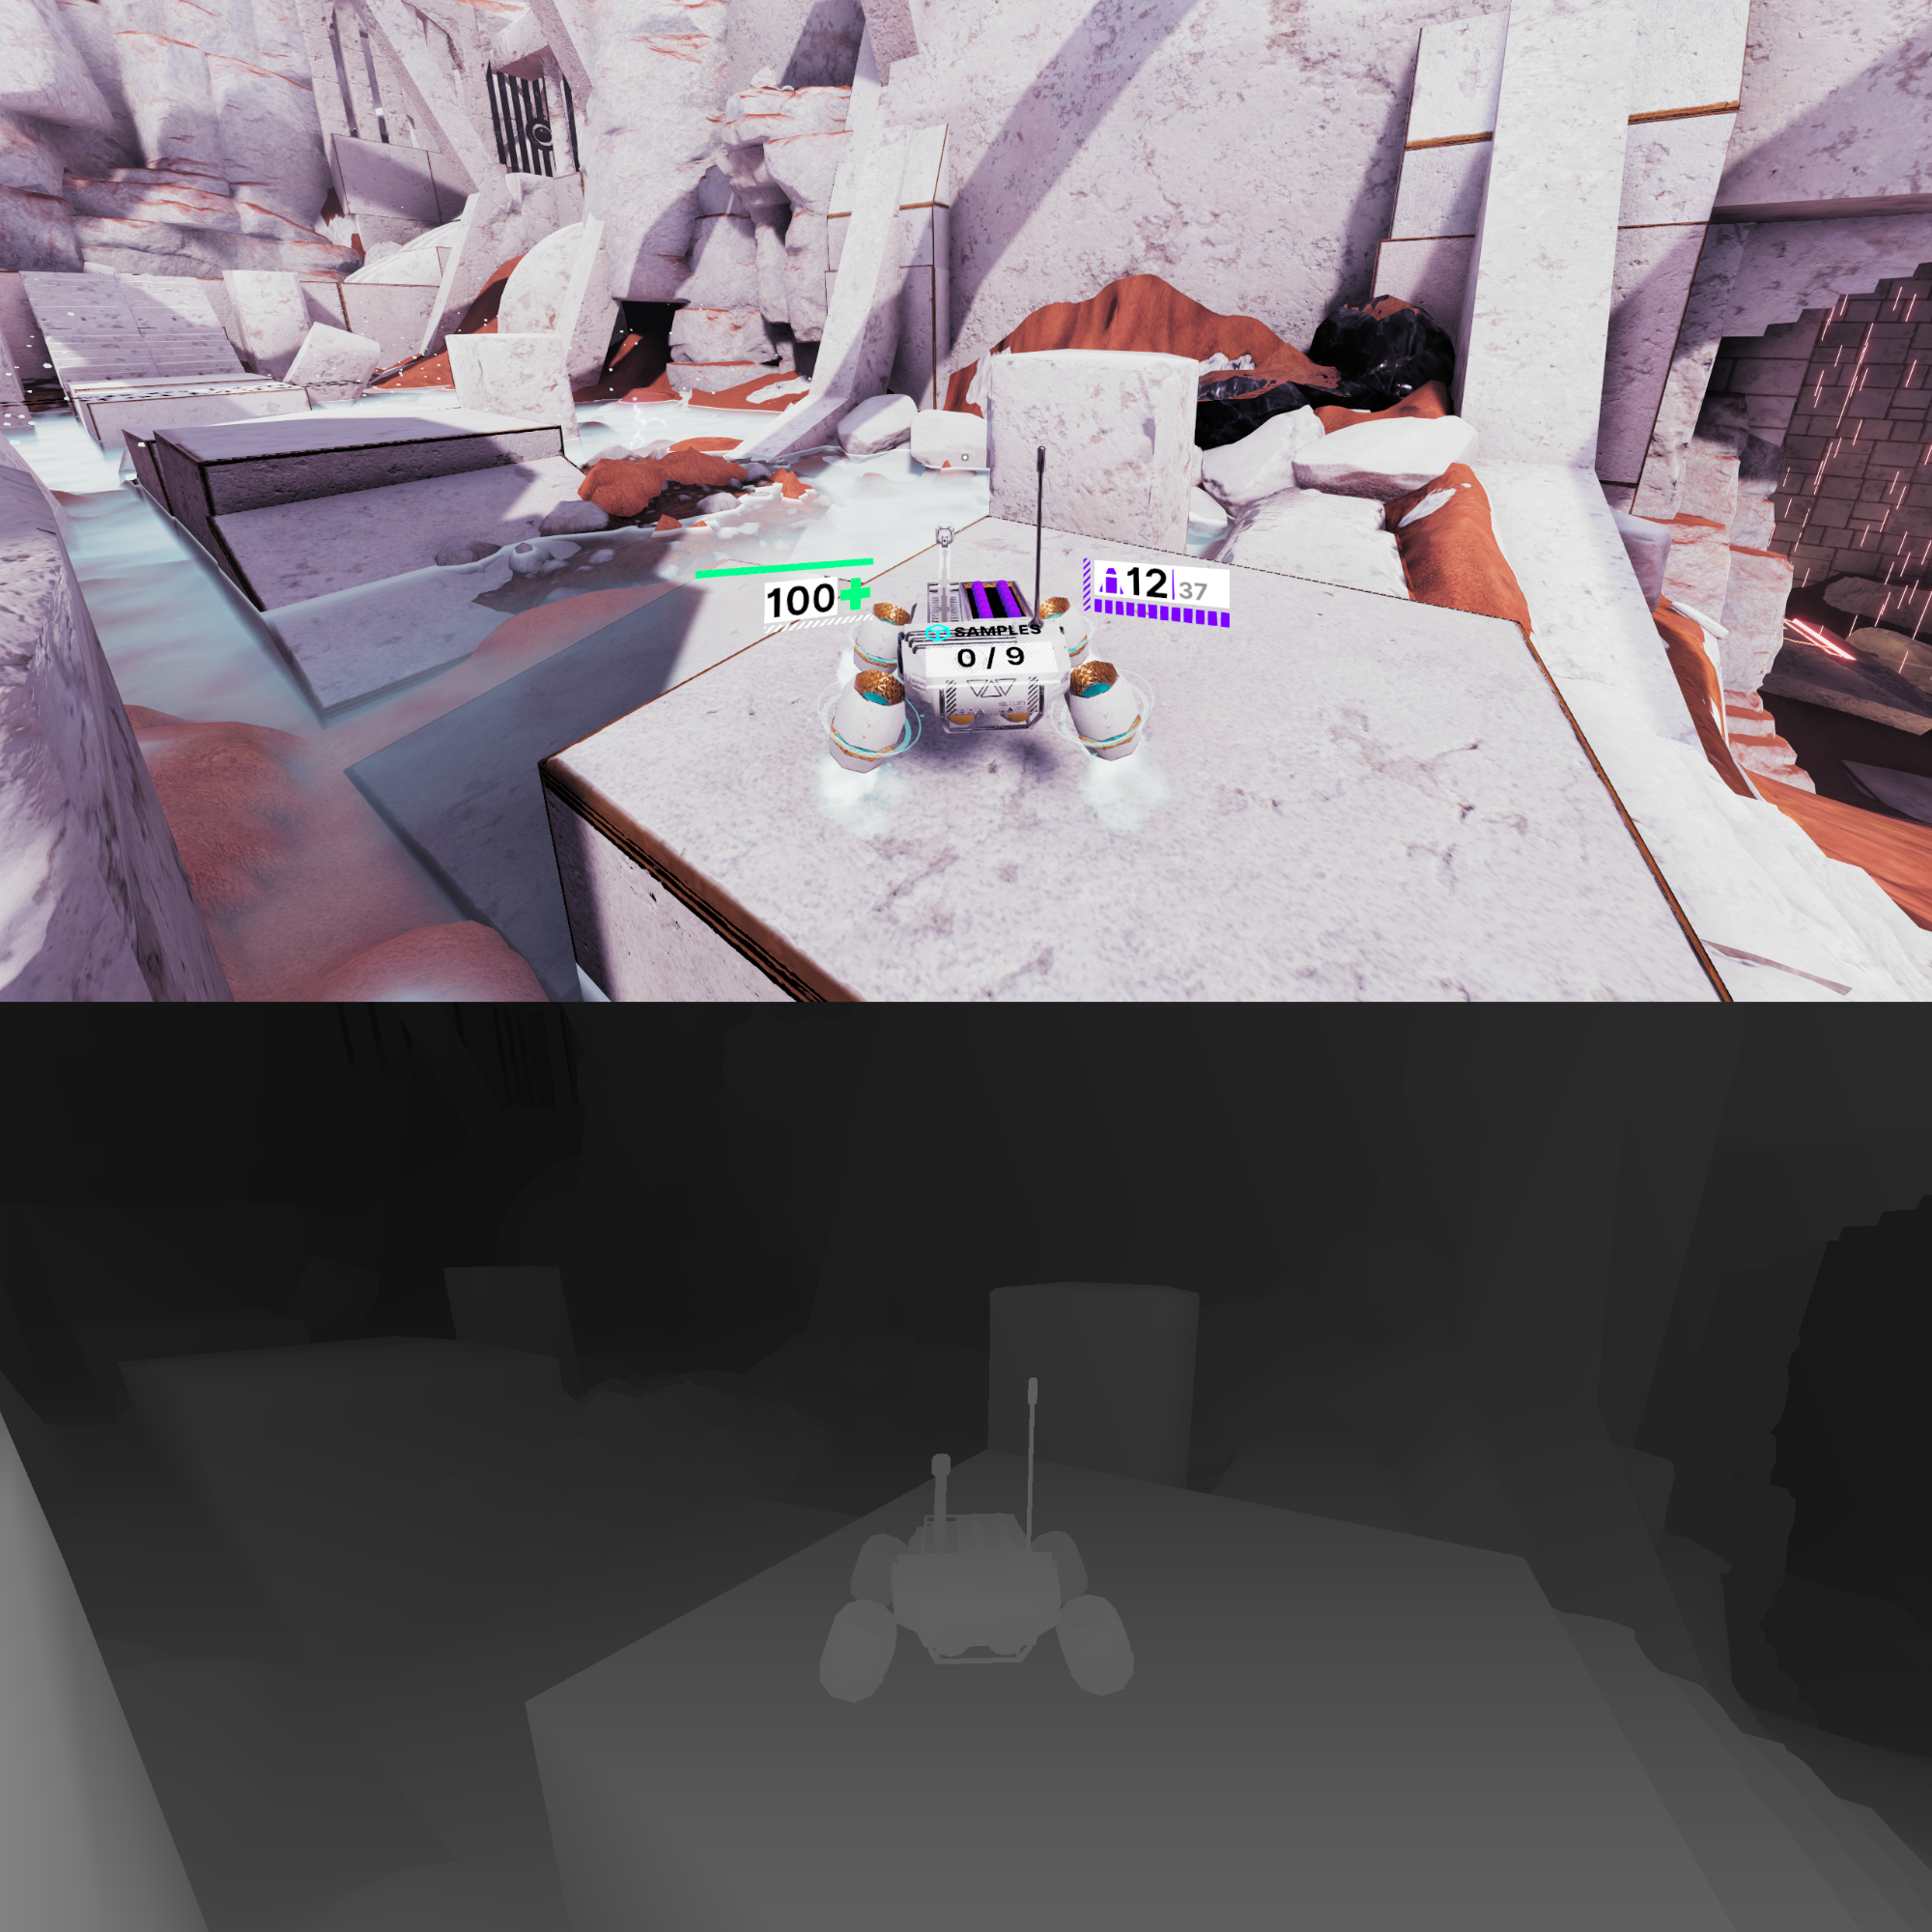
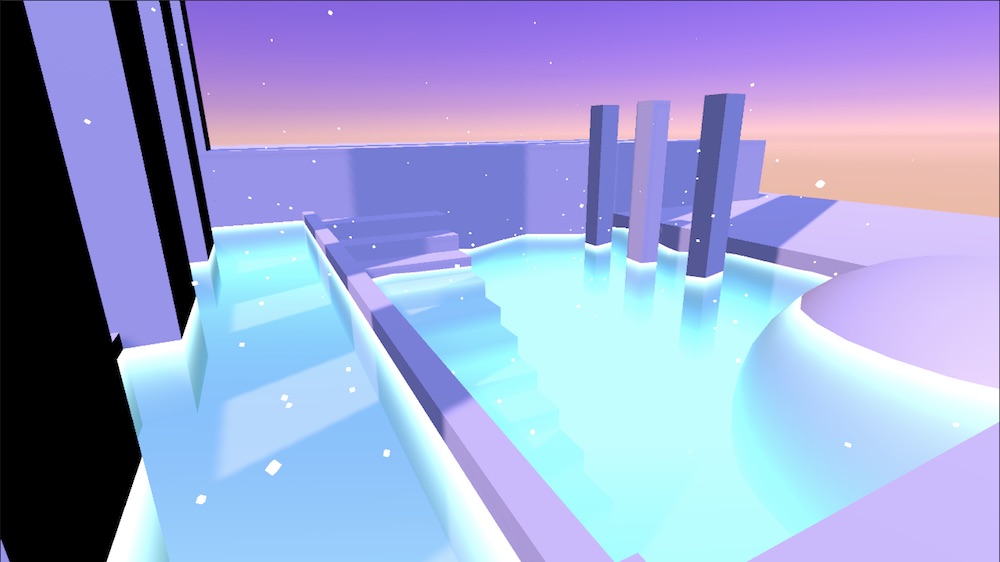
Now add it in your scene. Then add some VFX and particles effects for a nicer atmosphere! Here I also made it fade in the distance to blend better with the skybox.
Finished material in scene with particle effects
Download files
Patrons can download the ready to use files for Unity here.
Included is a scene showcasing the completed shader, with some nice lighting and some particle effects.
References and sources
- https://docs.unity3d.com/Manual/SL-VertexFragmentShaderExamples.html
- https://en.wikipedia.org/wiki/Z-buffering
- https://en.wikipedia.org/wiki/Depth_map
- https://en.wikipedia.org/wiki/Displacement_mapping
- https://docs.unity3d.com/Manual/SL-DepthTextures.html
- https://catlikecoding.com/unity/tutorials/flow/looking-through-water/